How to configure PlayStation 2 PCSX2 emulator in HyperSpin
How-To This tutorial is aimed at users who want to emulate Sony PlayStation 2 games, and use HyperSpin front-end to browse the video games catalog and launch the emulator.
First of all let's us to make a small introduction for those who don't know what is emulation, or don't know what it is HyperSpin. If you already know this information, you can skip these lines and go directly to the tutorial instructions.
The emulation of systems is the capacity to run programs from one platform in a completely different one. For example, if we can play the Game Boy video games on PC, it's thanks to emulators, which are developed in such a way that they are able to “imitate” the inner functionality of that game console, and code that functionality in some programming language, so it can be executed in the computer. That is to say, the hardware (diodes, resistors, etc.) components of the video console are “translated“ into programming instructions (if, else, while, etc). This way we will be able to play a video game developed for one video console, in the emulator program.
In this case we must take into account that although we have the emulator, we will not be able to play original Game Boy video games, since our PC does not have any special slot to enter and read the original cartridges of the Nintendo handheld game console. For these cases, there are special hardware that convert the content of the cartridges into files with a special format. These files are known as ROM. So if you read on any website the word ROM, it is making reference to the file that contains game data.
Having an idea of what are emulators, we can address the issue of the front-ends. In the world of emulation, it is common to have several programs emulators that emulate different video game consoles. For example, we can have an emulator for Super Nintendo (Snes9X), other for Sega Mega Drive/Genesis (Kega Fusion), other for PlayStation (ePSXe), etc. It is also quite normal to have a wide collection of video game consoles ROMs. This implies that in order to play video console game, we need to launch the emulator and choose the game we want to play.
Front-ends come up with the idea of gather all the emulators in a single interface, and launch the games from this interface. For example, if we run HyperSpin front-end, we have access to all the configured emulators (Game Boy, Xbox, PSP, etc.), and all of their games without the need of open a different emulator every time we want to play the games. In addition, when we browse video games catalog, it will display images and videos of the selected video game.
Now that we already have an idea of what are emulators, and which is the purpose of front-ends, we're going to address the issue of how to configure the PCSX2 PlayStation 2 emulator in the HyperSpin front-end.
The first thing that we need to do is download PCSX2 emulator and install it:

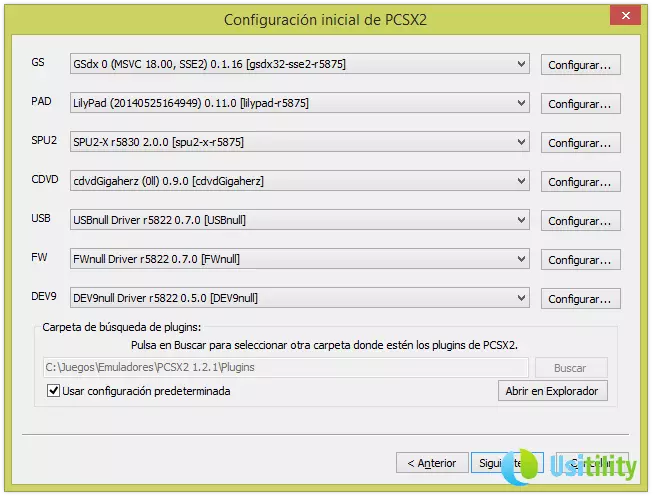
Once PCSX2 is installed we launch it and proceed to set it up. The first thing is to choose the language of the program, click on “ Next ” and after a few seconds, it will display a list of plug-ins that allows to improve the emulator. We're going to leave the default plug-ins and click “ Next ”.
The next screen allow us to select the PlayStation 2 BIOS. This step is ESSENTIAL if we want the emulator works. There are two options to get the PlayStation 2 BIOS:
Download it from our PS2 game console. This process is out of the topic of this tutorial. But it is good to know that there are methods to get the PlayStation 2 BIOS so we can use it in the emulator.
Download the files of various BIOS from the Internet.
Note: Video consoles emulators are not developed with the intended to play free of charge to games consoles, rather, as a way of being able to preserve and archive in digital format old video game systems. That said, we should have in note that if we want to use PlayStation 2 emulator, we should have purchased this console previously, and therefore have the the original console BIOS.
Once we have the BIOS file, we will copy that file in the following path C:\Users\Myuser\Documents\PCSX2\bios and press “ Update list ” button. We will see our BIOS listed. Now we must choose it clicking on the BIOS name (Europe v01.60...) (the name of your BIOS can be different).

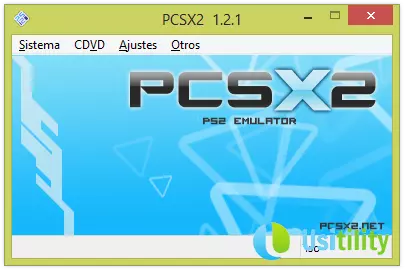
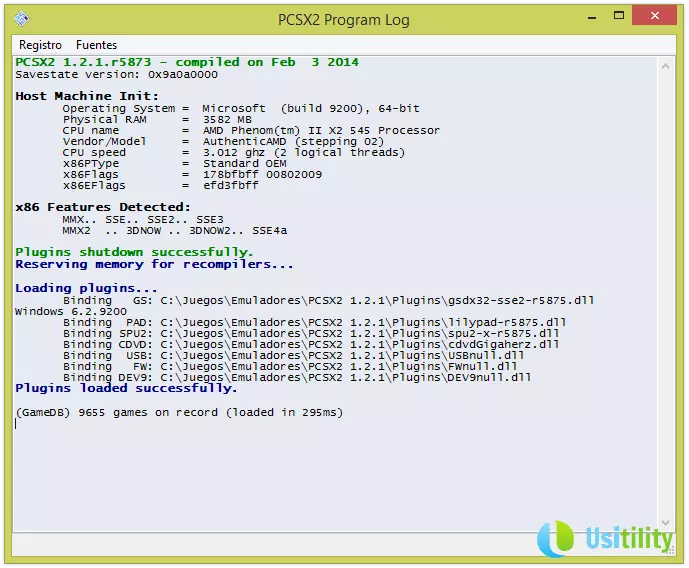
Now press the “ Finish ” button and emulator's main window will show up, and also another window with the log of the processes that are taking place in the emulator.
 the
the
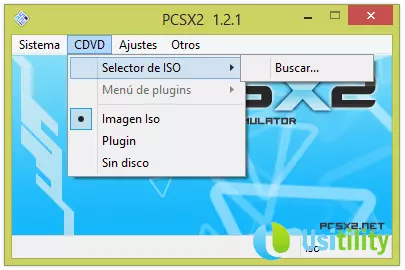
Now we're going to load a video game console. To do this we have two options, insert the original video game in PC's DVDs disc drive, or use a an ISO file that contains the game we want to play. If we use the game ISO file we must own an original copy of the video game.
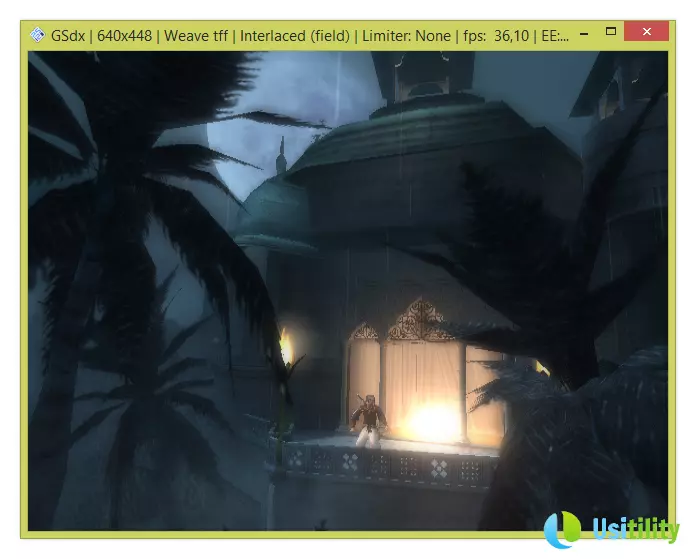
we are going to load the ISO image of the game “Prince Of Persia The Sands Of Time” to test if the emulator is working correctly. Press on “ CDVD->ISO Selector->Search ”, select ISO image and click on “ Open ”. Now we must select the option “ System->Run CDVD (full) ”.
The system will boot and we will be asked to set the language and the time zone, once this is done, the game will start and we can play it.
Once we have verified that the games work properly in the emulator, we can proceed to configure the HyperSpin front-end so it can launch PlayStation 2 video games without running manually the PCSX2 emulator.
Note: keep in mind that we must configure the control plug-in to be able to use the keyboard or a joystick USB to control the games.
This emulator has a great amount of options, so that we can explore all the menus to discover all the options and settings available.
Now we're going to configure the HyperSpin software so we can use PCSX2 emulator and play PlayStation 2 games.
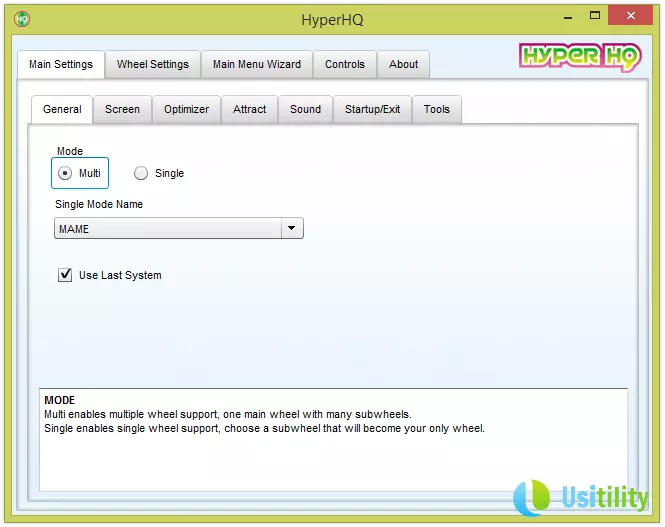
We should locate the Front-end HyperSpin installation folder, and run “HyperHQ.exe” program. We will see a screen similar to the following.
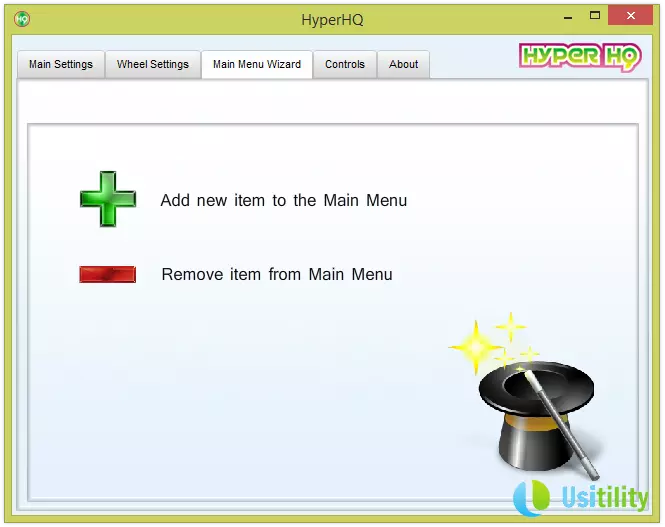
Now we're going to add PlayStation 2 platform to HyperSpin main menu, to do this click on “ Main Menu Wizard ” and we click on the option “ Add new item to the Main Menu ”.
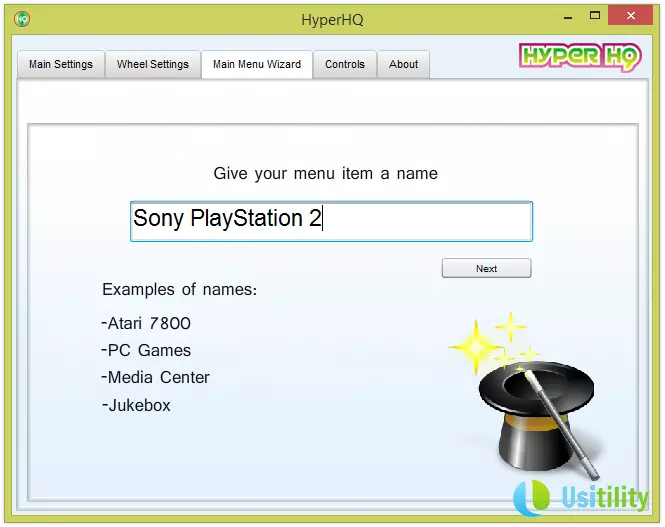
On this screen enter the name “Sony PlayStation 2” in the text box, and click on “ Next ”.
IMPORTANT: It is essential that we enter the exact name: Sony PlayStation 2. So we can not enter “Play Station 2” or “Sony Play Station 2” (with a space between Play and Station). It has to be Sony PlayStation 2, if we don't enter the exact name the following procedure will not work.
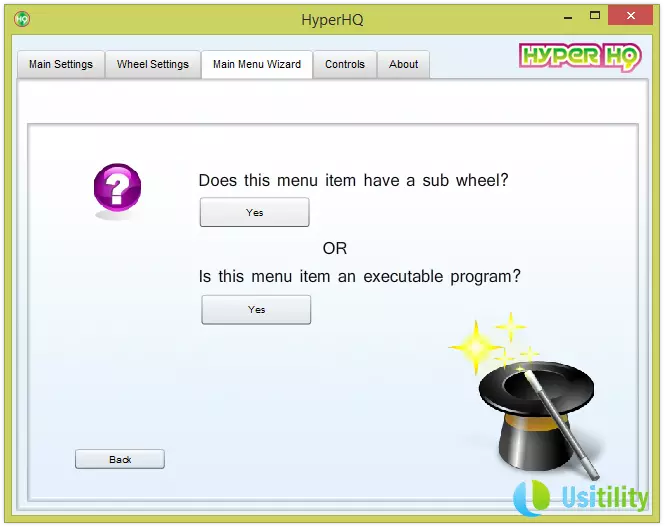
In the following screen click on the first button “Yes”, below the text “ Does this menu item have a sub wheel? ”.
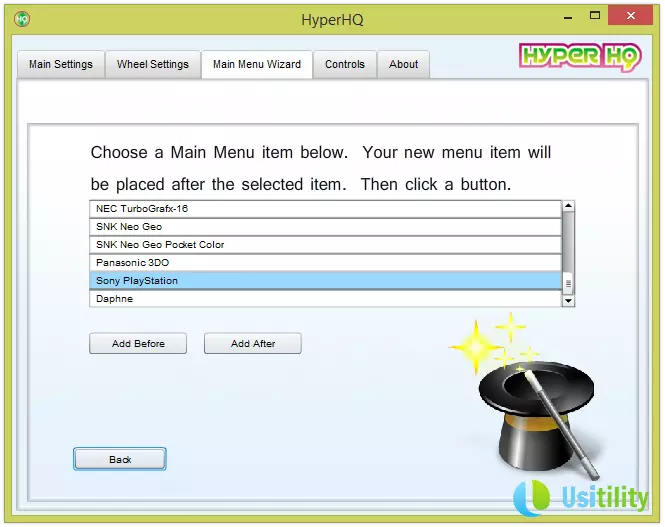
Now we choose the position where we want the PlayStation 2 menu to appear in HyperSpin main screen. In our case we want to locate it below “Sony PlayStation”. So we selected “ Sony PlayStation ” item and press “ Add After ” button. We will see a screen that asks us if we're sure to add Sony PlayStation 2 system under Sony PlayStation system . “Click " Ok ”.
We will see a success screen confirming that everything has gone correctly.
Now we're going to configure HyperSpin so PCSX2 emulator will be launched automatically.
We must download HyperLaunch program, that launch the games using the configured emulators. Can be downloaded here.
Once downloaded, unzip its contents to a subfolder within the main HyperSpin folder called “HyperLaunch”. In such a way that HyperLaunch path will be “c:\HyperSpin\HyperLaunch\”.
Once this is done, we proceed to download another program that helps us to configure easily emulators within HyperSpin. The program is called HyperLaunchHQ and can be downloaded here.
Once downloaded, unzip it in a HyperLaunch subfolder called HyperLaunchHQ, in such a way that the program will be located in the path “c:\HyperSpin\HyperLaunch\HyperLaunchHQ\”.
up Until now we have performed the following steps to configure HyperSpin:
We have added Sony PlayStation 2 system to HyperSpin. To do this we have used HyperHQ.exe program.
We have downloaded and unzipped the program HyperLaunch, which allows to launch the emulators in the background.
We have downloaded and unzipped the program HyperLaunchHQ, which is used to configure the emulators that are associated with HyperSpin systems (game consoles).
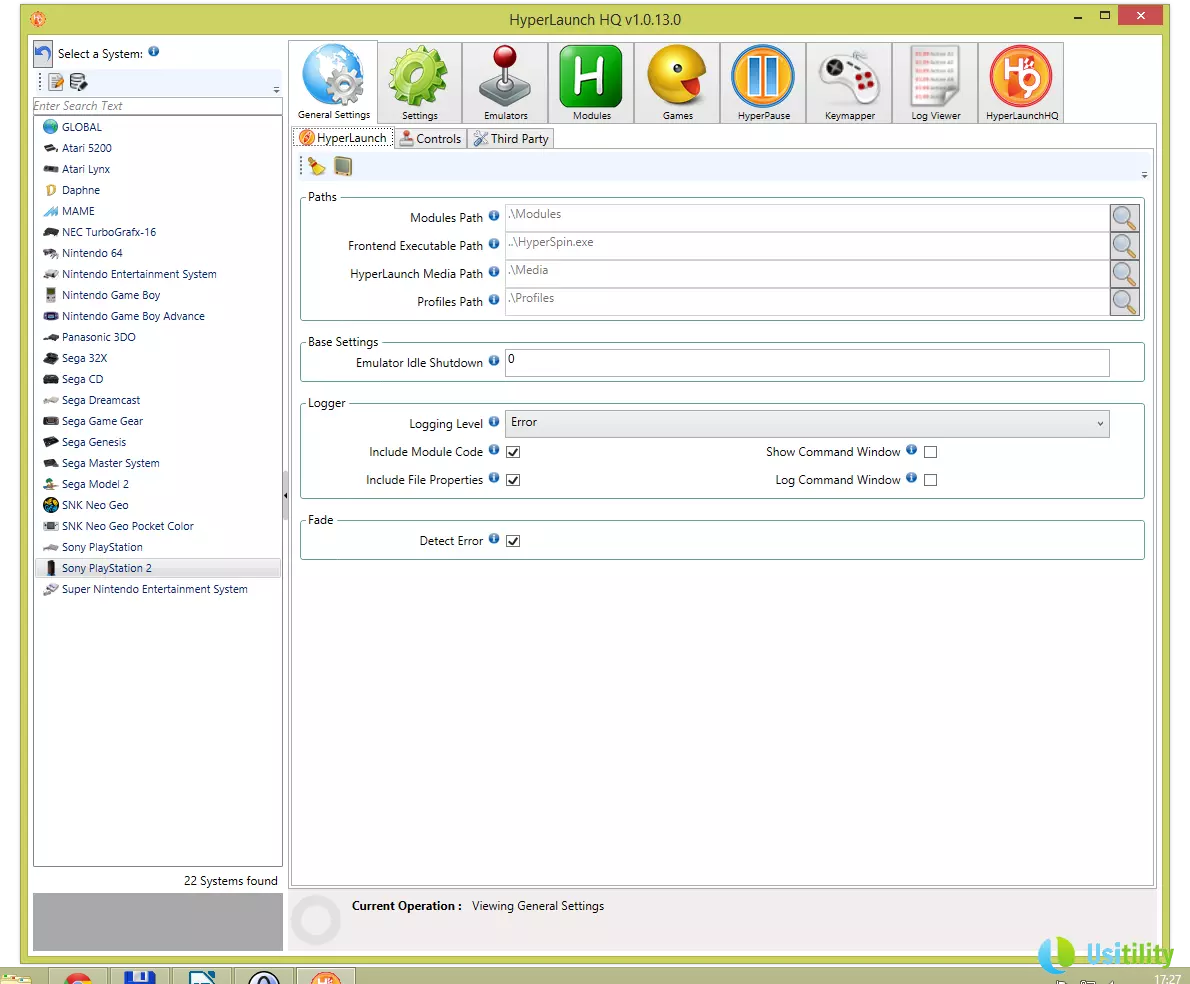
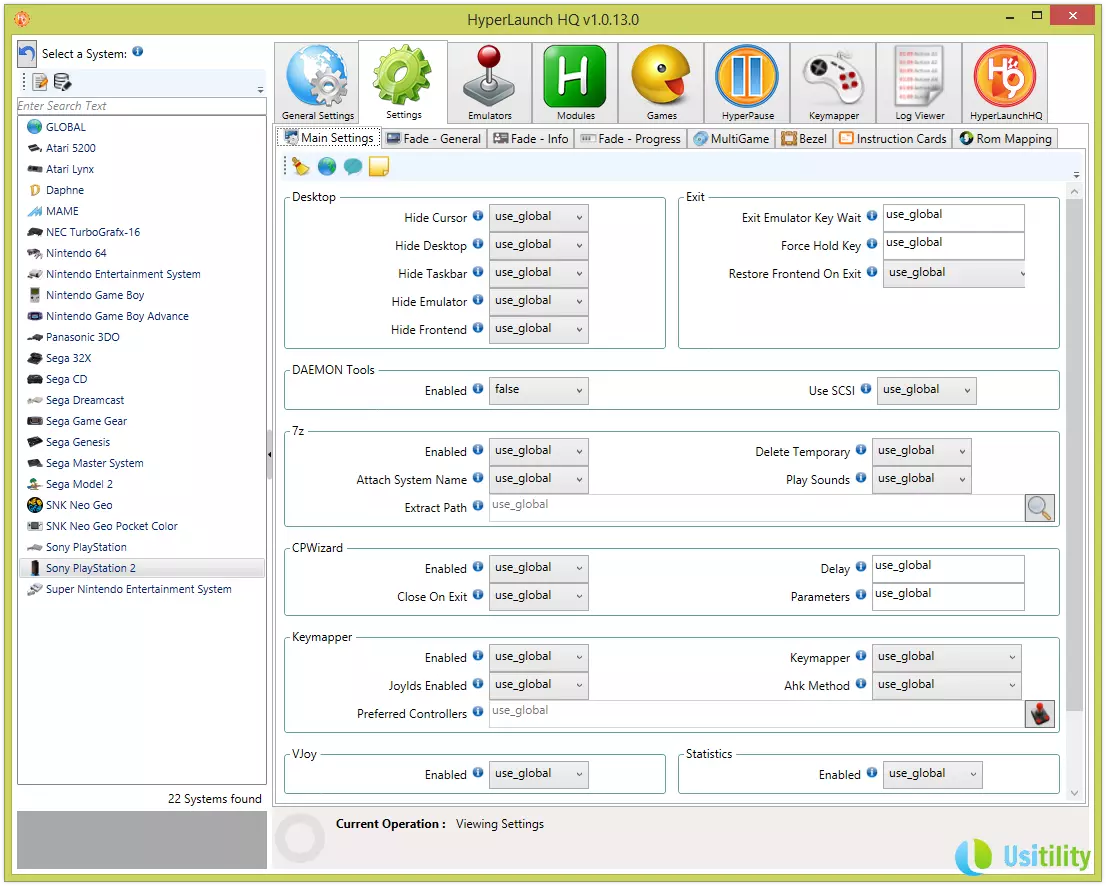
Now we are going to launch HyperLaunchHQ program (c:\HyperSpin\HyperLaunch\HyperLaunchHQ\HyperLaunchHQ.exe) and associate PlayStation 2 system with PCSX2 emulator.
When we launch the program, in the left part of the main window there is placed a list of available video game consoles. We need to locate Sony PlayStation 2 video game console along with a representative icon. If we do not see the icon next to the name of the console, we need to make sure we have input correctly the Sony PlayStation 2 name in the previous step.
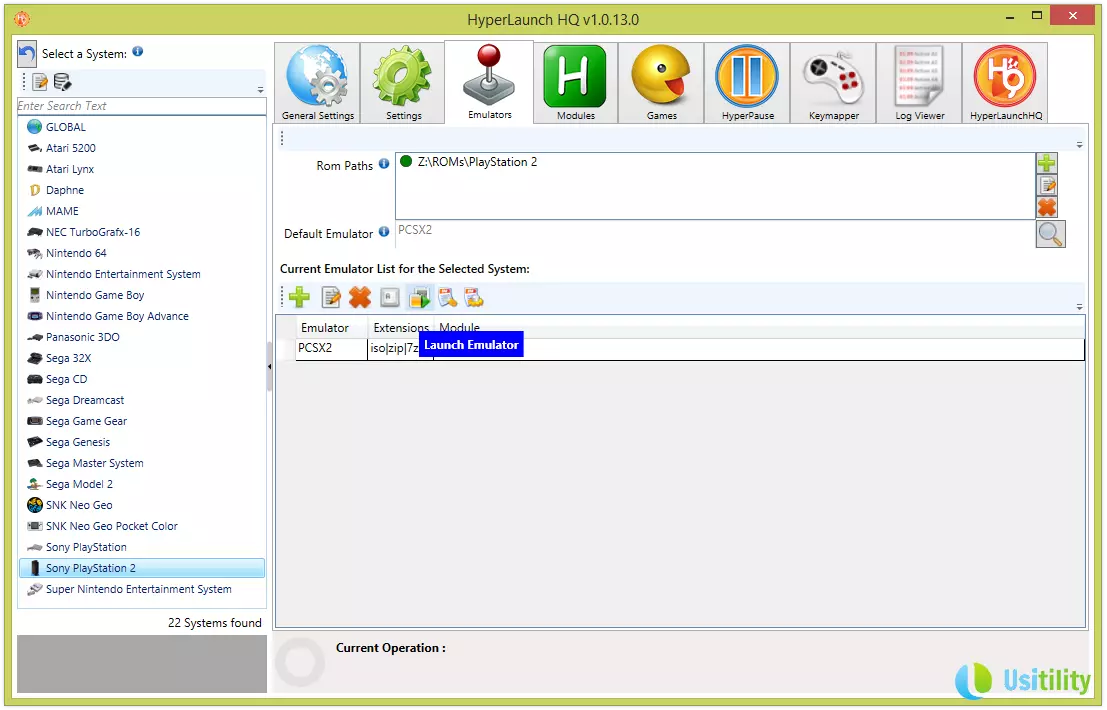
Select Sony PlayStation 2 in the left list and click on the “ Emulators ” top tab (represented by a Joystick). Now, in the “ Rom paths ” section click on the add button and select the directory where the PS2 ROMs are located. In our case z:\ROMs\PlayStation 2.
In the “ Current Emulator List for the Selected System ” section, click on the add button. We see a screen where we must fill in the following details:
Name : PCSX2
Path : Path to PCSX2 executable file. In our case c:\Games\Emulators\PCSX2 1.2.1\pcsx2-r5875.exe
Rom Extension : iso|zip|7z . These are the extensions of PS2 ROMs .
Module : we must choose the module PCSX2.ahk

Click on Save Button located at the top left of the screen.
To verify that all has gone well, we have to select PCSX2 emulator of the list and click on the “ Launch Emulator ” button represented by the symbol “Play”.
If all has gone well, PCSX2 emulator will be launched.
In this same screen, click on the magnifying glass icon located at the right of “ Default Emulator ” option, and select PCSX2.
In Settings top tab, we must select “ DAEMON Tools->Enabled ” option and select “ false ”. Now we can close HyperSpinHQ.
Now begins the complex part of this tutorial. Before continuing we must understand how HyperSpin manages system's ROMs. It is not enough to set games ROMs path, but also we need to create a list that contains information of each of the ROM that is located in the directory.
In our case we're going to download and unzip the following file Internet Sony PlayStation 2.zip containing information about PlayStation 2 games. This file (Sony PlayStation 2.xml) must be copied into the following folder: C:\HyperSpin\Databases\Sony PlayStation 2\.
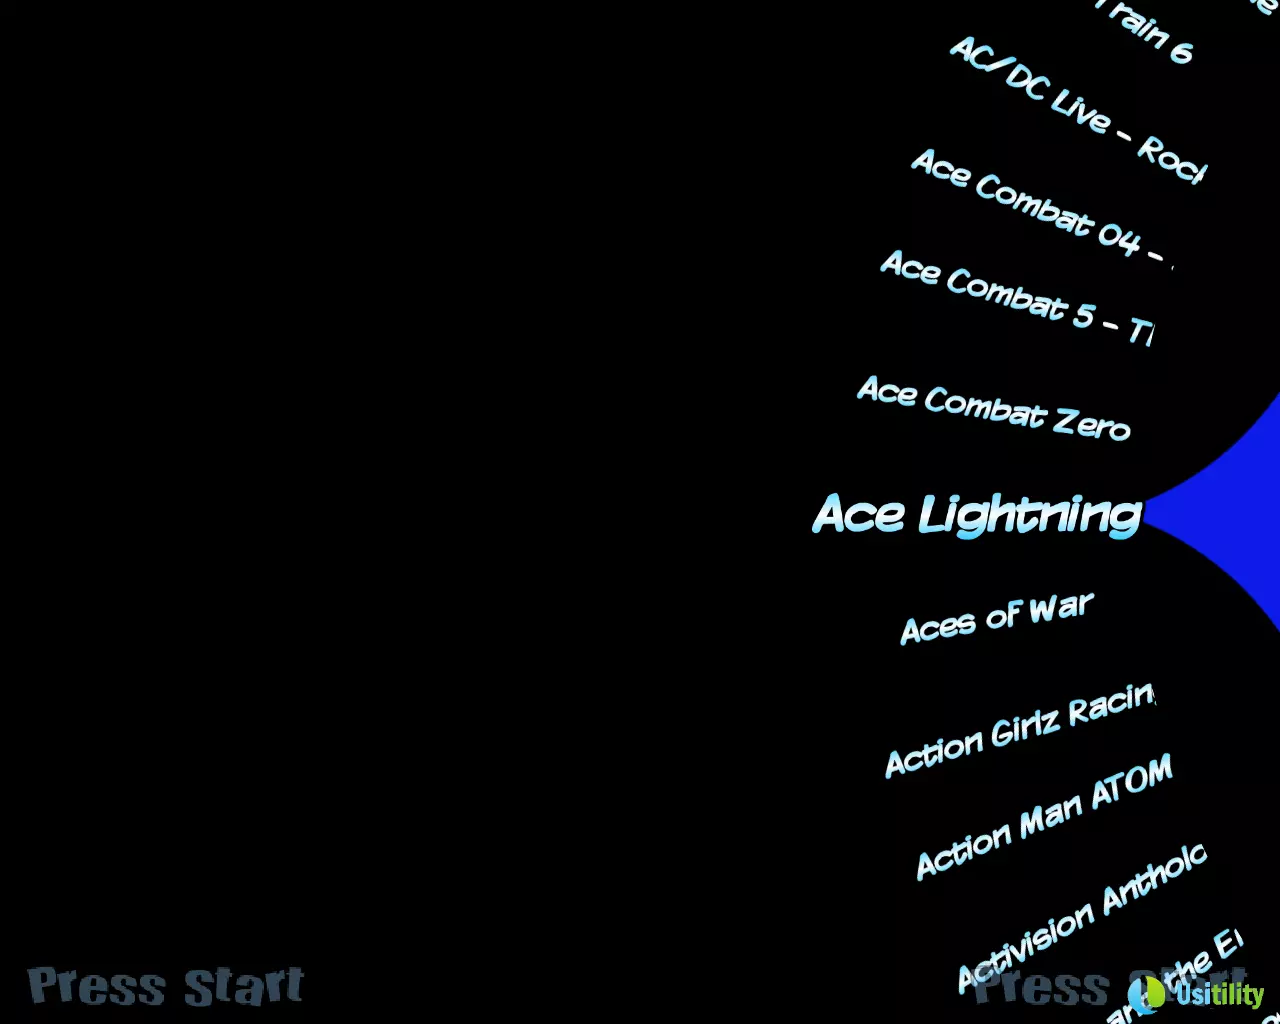
If we launch HyperSpin, we can see that Sony PlayStation 2 system is available. When we select it, we will see that there is a very long list of video games. This list is a compilation of video games that existing for PS2. If we want to play these games, we must have the ROM of each of the games.
In our case we have the Prince of Persia: The Sands of the Time ROM. The ROM name is: prince-of-persia-arenas.iso, and we have copied that ROM into z:\ROMs\PlayStation 2.
If you want that HyperSpin recognize the game, we must change the file name. To know which name we should give to the ROM, we must open the file C:\HyperSpin\Databases\Sony PlayStation 2\Sony PlayStation 2.xml and search for the name of the game, in this case we look for “Prince of Persia” and we found the following lines:
<game name="Prince of Persia - The Sands of Time (USA)" index="" image=""><description>Prince of Persia - The Sands of Time</description>
<cloneof />
<crc />
<manufacturer>Ubisoft</manufacturer>
<year>2003</year>
<genre>Action</genre>
<rating>ESRB - T (Teen)</rating>
<enabled>Yes</enabled>
</game>
Those lines represent the information that HyperSpin needs to launch the vido game. We are interested in the first line (<game name=”....”>). We should rename our ROM prince-of-persia-arenas.iso and put the name of Prince of Persia - The Sands of Time (USA).iso. In this way HyperSpin will be able to launch the game.
Once ROM is renamed, we launch HyperSpin, we look for the game and press Enter. The game should begin its execution.

If the game does not works, we must make sure that PCSX2 emulator is closed and not running in the system. If not, HyperSpin do not launch the game, and not give any alert of the problem.
Note: If we are using the PCSX2 1.2.1 and get the following error when we launch the game, “Could not find the default PCSX2_ui.ini file. Please manually run and configure PCSX2 first os this file is created with your default settings”. To solve this we need to copy the following folder c:\Users\Yourusername\Documents\PCSX2\inis\ into PCSX2 directory, in our case c:\Games\Emulators\PCSX2 1.2.1\. So in PCSX2 main directory it will create \inis folder with several .ini files inside.

This is a way to setup HyperSpin to work with the emulator PCSX2. There are more ways of carrying out this process. This it is due to HyperSpin is a complex software to configure, and there are a multitude of additional tools that helps in the front-end configuration. We have used basic additional tools, but other tools can be used to generate the video games list or to download games Themes and videos.